PE Pipe Installation Construction Plan
(I) Construction Process
Surveying and Layout → Trench Excavation → Manual Preparation of Trench Bottom → Bedding Installation → PE Pipe Installation → Outlet and Conduit Installation → Pipe Backfill → Completion Cleanup.
(II) Surveying and Layout
During construction, strictly follow specifications and design requirements. After receiving the handover instructions from the supervising engineer, carefully prepare the handover records of the materials and materials. Organize professional surveying technicians to carefully develop a surveying plan and process, and prepare surveying equipment, instruments, and personnel. According to the established surveying plan, use a level and total station to verify and inspect the intersection points, transfer points, guide rail points, center piles, building start and end piles. Important markers are anchored. These anchored piles are protected from construction, clearly marked, and carefully protected, serving as the basis for measuring the re-alignment throughout the construction process. Surveying personnel will frequently conduct re-verifications throughout construction to ensure the correct trench configuration until the project is completed and accepted. The measurement results consisting of measurement records and internal calculations shall be submitted to the supervising engineer for verification and approval. The approved measurement results shall be printed into a book and distributed to construction technicians for use. In order to facilitate construction and control the excavation and filling of earthwork and the elevation control of the main building structure, the given level elevation control points shall be used to adopt the closed leveling measurement (or attached leveling measurement) method, and temporary leveling piles shall be set up densely. Temporary leveling piles shall be fixed with iron nails on the top of the square timber piles, surrounded by concrete and buried in a position convenient for construction and protection, and numbered and marked. According to the given control points, the measurement and control shall be carried out in a dense manner. After repeated verification and accuracy requirements are met, the measurement and layout and elevation control measurements shall be carried out to determine the axis. After each excavation section is completed, the axis, section and elevation shall be re-measured in time to ensure that there is no over-excavation or under-excavation.
(III) Trench excavation and backfilling
(1) Before excavation, be familiar with the drawings, understand the underground and above-ground obstacles in the construction area, and deal with them properly.
(2) Find out whether there are existing pipelines, high and low voltage wires and cables underground, and mark them properly.
(3) When there is groundwater in the foundation pit or pipe trench, measures have been taken to lower the groundwater level according to local engineering geological survey data, and the water level has dropped to 1 meter below the bottom of the pit.
(4) The water supply, power supply and temporary facilities in the construction area meet the requirements of mechanical excavation, and the roads are flat and unobstructed.
(5) The machinery, transportation vehicles and various auxiliary equipment used for earthwork excavation have been repaired, inspected and brought to the site.
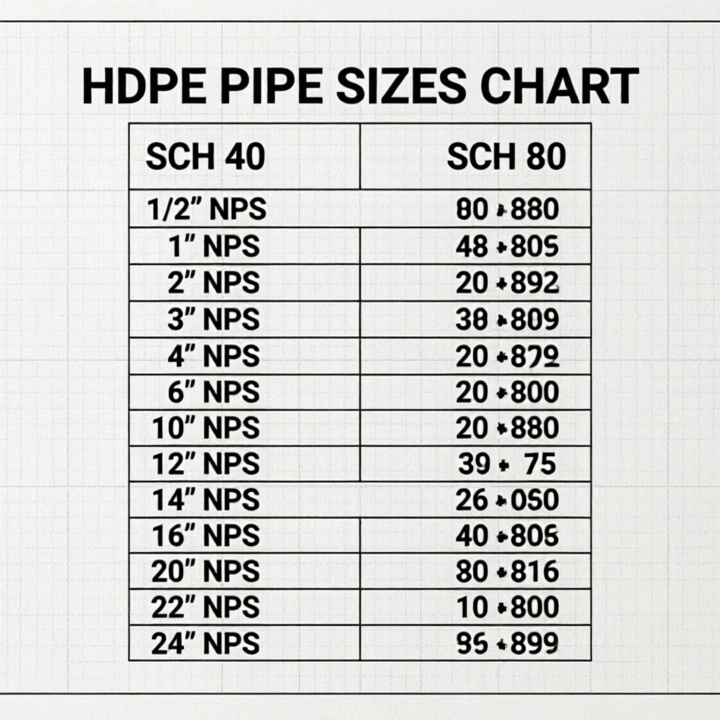
(IV) Pipes
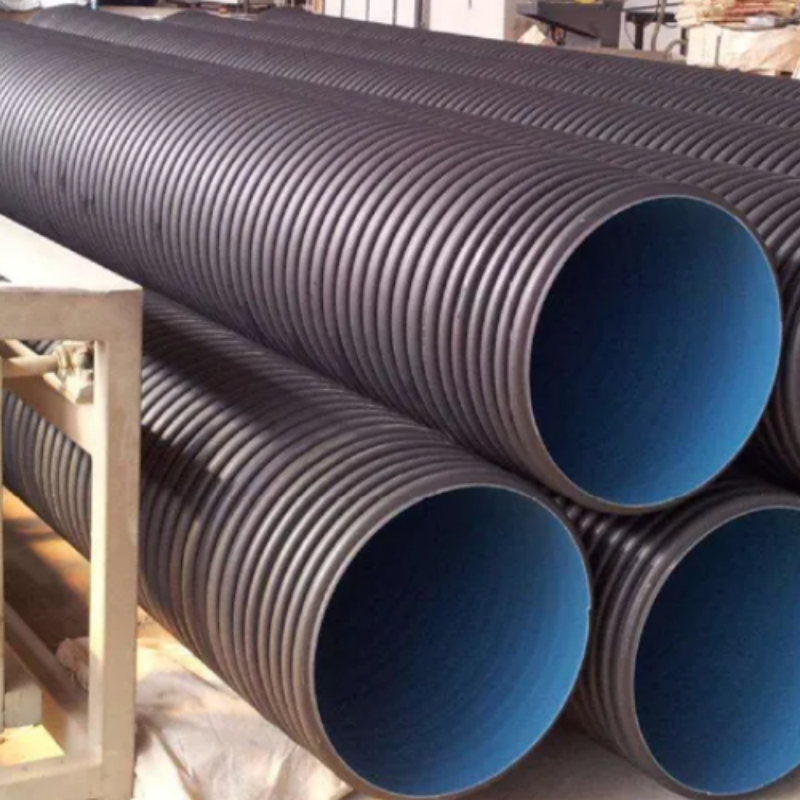
Before installation, check whether the PE Pipe and accessories are complete, whether they have factory certificates and relevant material quality inspection documents. Ensure all PEHD Pipe sections, Fittings for Poly Pipe, and Valves / Hydrants are ready before beginning installation.
(V) Pipeline installation
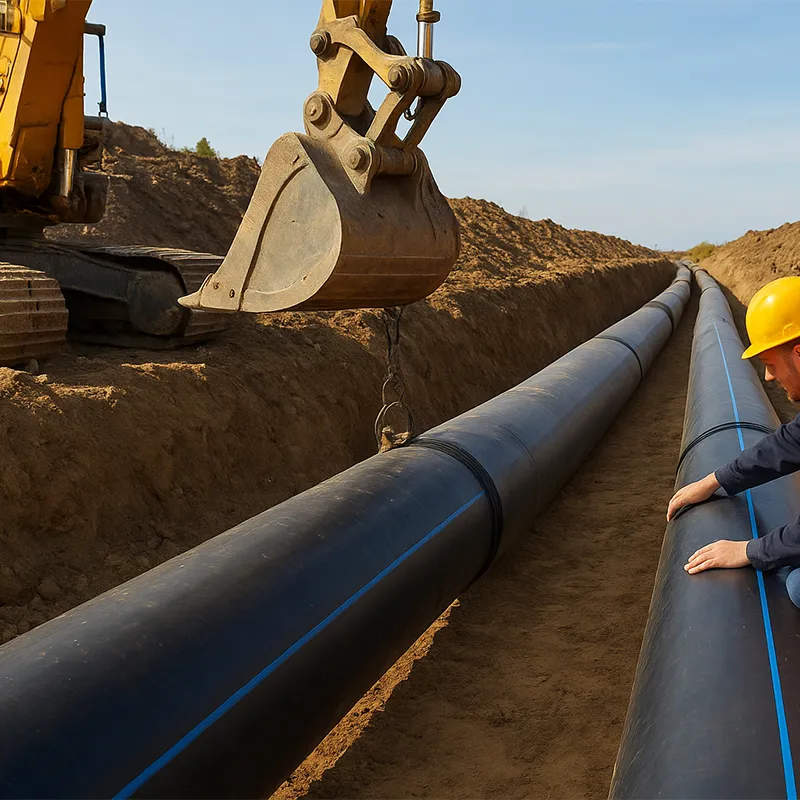
1. When using a machine to lower the pipe, the speed should be uniform, the rotation should be smooth, and the pipe should be lowered at a low speed and gently, without sudden acceleration or braking. It is strictly forbidden to stand on the pipe section being hoisted.
2. Before lifting, arrange the PE Pipe sections in order along the edge of the trench and lower them into the trench one by one. This avoids transporting the pipe in the trench when lowering the pipe, improving time efficiency.
3. After the pipeline trench is in place, pipe installation begins. Single pipe sections are installed one by one according to the designed elevation and position to form a complete pipeline.
4. On a solid, stable trench bottom, the width of the trench is determined by the required operating space. The space must be sufficient for proper trench bottom preparation, the filling and compaction of the trench fill material, and the economical cost of trench excavation. The trench width is generally determined by the pipe specifications and compaction tools.
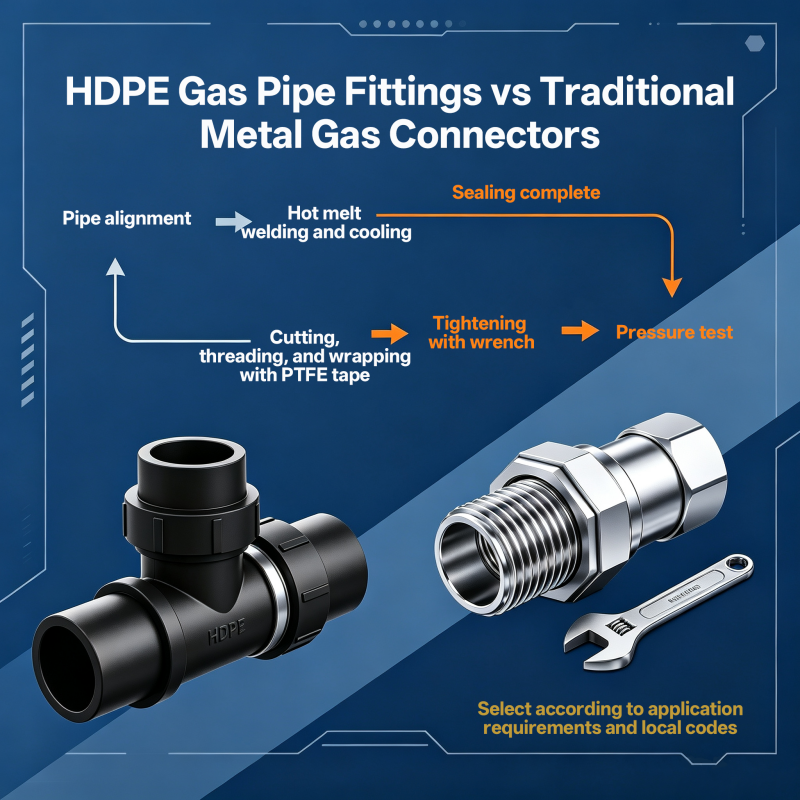
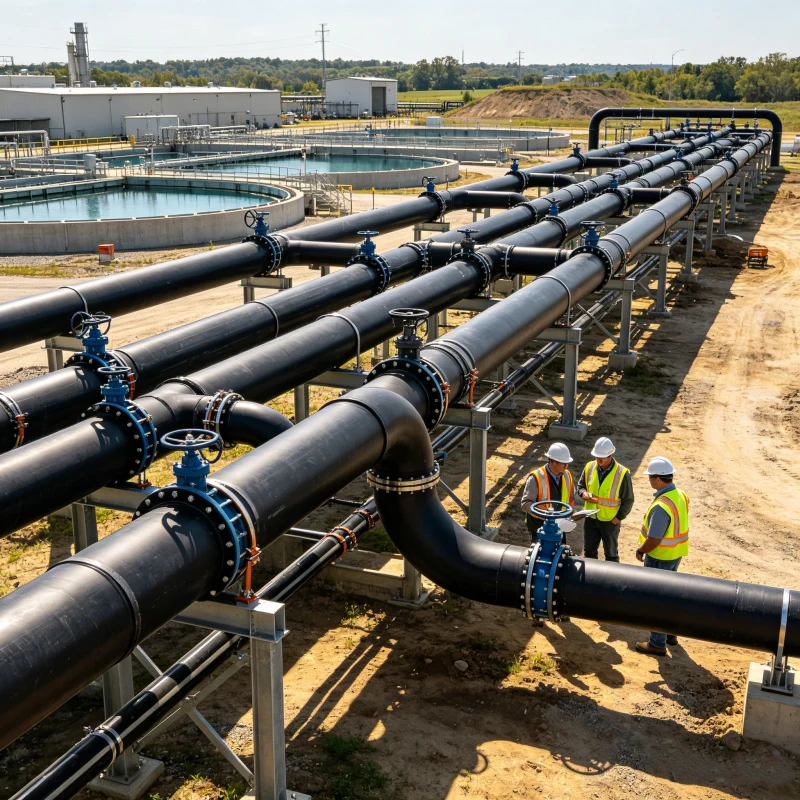
Generally speaking, when connecting on the ground, the trench width is D + 0.3 meters. When installation or trench backfilling is difficult in the trench and the backfill compaction requirements cannot be met, the trench width is D + 0.5 meters, with a total width of no less than 0.7 meters. Before placing the pipeline in the trench, a thorough inspection should be conducted. Only if no defects are found should the pipeline be hoisted or slid into the trench. PE Pipe sections are typically pre-joined above ground. Sometimes, they may be pre-joined into sections of approximately 50 meters and stored in a single location. When lowered or joined, they are transported to the installation site and then connected using either Butt Fusion or Socket Fusion joints. PEHD Pipe with a nominal diameter less than 200mm can be manually dragged into the trench. Larger pipes, Fittings for Poly Pipe, Valves, Hydrants, and accessories should be carefully lowered into the trench using appropriate tools. Nylon ropes are recommended for long-distance pipe lifting. Final pipe connections and assembly are similar to those for Butt Fusion joints above ground, but the pipes must be cooled to the ambient soil temperature before joining. Flange Connections are generally used to connect PE Pipe to metal pipes or pumps. Flanges can also be used between PEHD Pipe when Butt Fusion joints are not feasible.
Pipe Connections: Large-diameter PE Pipe pressure piping systems primarily utilize Butt Fusion, while smaller diameters utilize Socket Fusion. Flange Connections must be used when connecting to other pipes, such as metal pipes. Small-diameter pipes can also utilize steel-plastic transition joints. Saddle Tee / Saddle Butt Fusion is used for branching the main pipe. Fittings for Poly Pipe are used to connect branches efficiently.
(VI) Water Pressure Test
1. After the pipeline has been properly installed, backfill both sides of the pipeline according to design requirements (backfill is not allowed at the joints), and then conduct a two-stage Pipeline Pressure Test.
2. When filling the system with water, open the exhaust valves at each high point of the pipeline to exhaust all air. Once the system is fully filled with water, close the exhaust valves and apply pressure using an electric pressure test pump. The pressure should be gradually increased. When the pressure reaches a certain value, stop and inspect the PE Pipe system. If no problems are found, continue pressurizing. Generally, the pressure should be increased to the test pressure in 2-3 steps. When the pressure reaches the test pressure, stop pressurizing and maintain constant pressure for 10 minutes. Check the interface pipe for damage and leaks, and the pipe strength test is considered passed. If the pressure drop is no more than 0.02 MPa over 10 minutes at the test pressure, the tightness test is considered passed and the pressure test quality is excellent. The team's quality and safety officer should promptly record the pressure test.
(VII) Disinfection and Cleaning of Water Supply Pipelines
1. In accordance with the "Specifications for Construction and Acceptance of Water Supply and Drainage Pipeline Projects," this project will be flushed in sections, with flushing water discharged through drain valves to nearby rivers and municipal facilities.
2. The flushing water source is the original water supply pipe. For newly installed PE Pipe, the flushing flow rate is 1 m/s. Before flushing the pipes, temporary drain valves and temporary drain pipes should be installed in some locations to divert water to appropriate locations.
3. Pipeline Disinfection: Close all valves except one three-way valve. Slowly open the valves and fill the PE Pipe with water. Simultaneously, inject disinfectant into the water inlet. Once the pipes are fully submerged, close the valves and perform pipe immersion disinfection. The specific disinfectant type, dosage, concentration, preparation method, and disinfection time must be strictly adhered to the standards. After disinfection is complete, open all water valves. After the disinfectant has been drained from the pipes, close all drain valves and flush the PE Pipe.
916.webp)
204.webp)
659.webp)
185.webp)
312.webp)
849.webp)
587.webp)
767.webp)